This post begins from from here: Create a DVD tutorial in case you are lost.
In this post series I talk about mastering a DVD from various DVD sources.
This post talks about using VLC to view a DVD.
Step 1. Find what to rip
Amanda and I watched all 3 DVDs to find out what tracks she wanted to have in her own DVD. The following selections were made:
DVD 1, track 2
DVD 2, track 2 from start till 09:21
DVD 3, track 2 from 8:00 until the end.
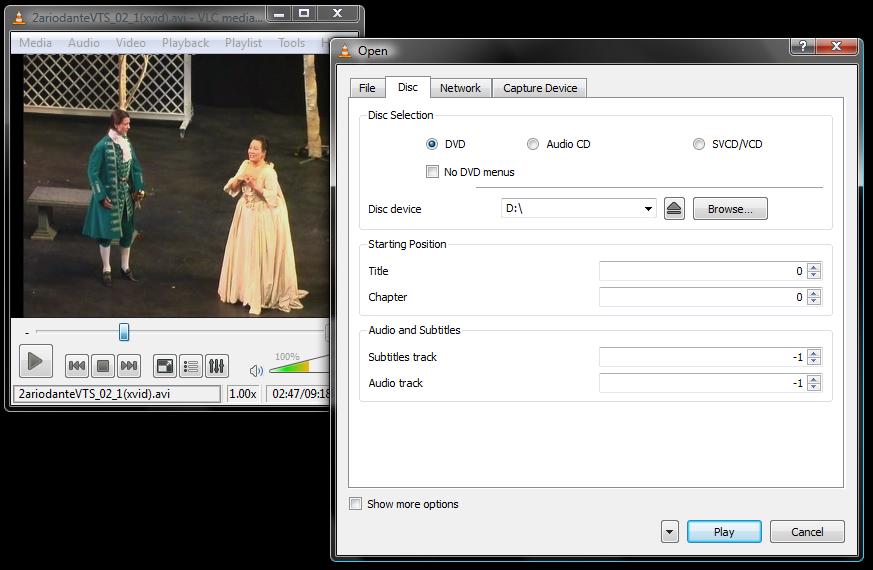
I used software called VLC to view the DVD on the computer and see what I needed to get. VLC is a freeware media player for Windows and Linux (http://www.videolan.org/vlc/) I’d highly recommend using this as a default media player for anything, as it can handle just about any media file. It also changes the screen ratio size, can do subtitles, multi audio tracks and loads of other things. I prefer this one to others in that its a very small and quick player (much much quicker and smaller than Microsoft’s Windows Media Player) To play a dvd, click media->open disk and select the DVD drive. This will play the menu of the DVD and you can select the options, or use track skip to select the DVD scenes.
The standard play, track change and volume controls are available at the bottom of the window. The time elapsed is also available to find the times to start the video from. I use this as my standard media player, not just for looking at DVDs. Its features, effeciency, compatibility and ease of use is hard to beat.
In the next part I will talk about step 2, ripping the selected tracks to the computer using DVD Decrypter


